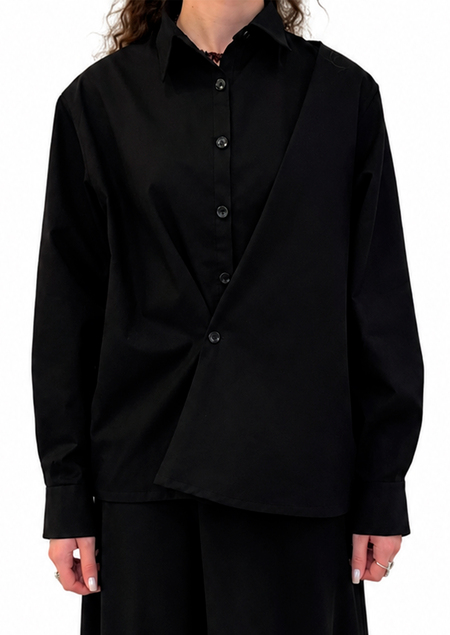
Concept
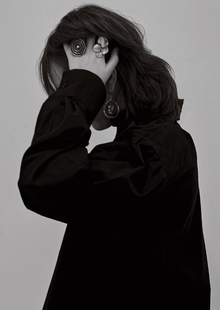
A black, women’s wrap-style blouse featuring a diagonal closure line was created as part of a project exploring the basics of a wardrobe as a canvas for elegance, confidence, and modern urban culture. Today, such a blouse is not merely an element of a strict dress code or business attire—it is a specific aesthetic tied to a flawless silhouette, refined classicism, evening rituals, and the desire to maintain a sense of inner strength and style in any situation.
Goal: — Developing construction and technological documentation for product launch into production
Tasks: — Developing the technical sketch with a description of the model sample — Developing the reference sample — Developing the construction documentation — Developing the technological documentation
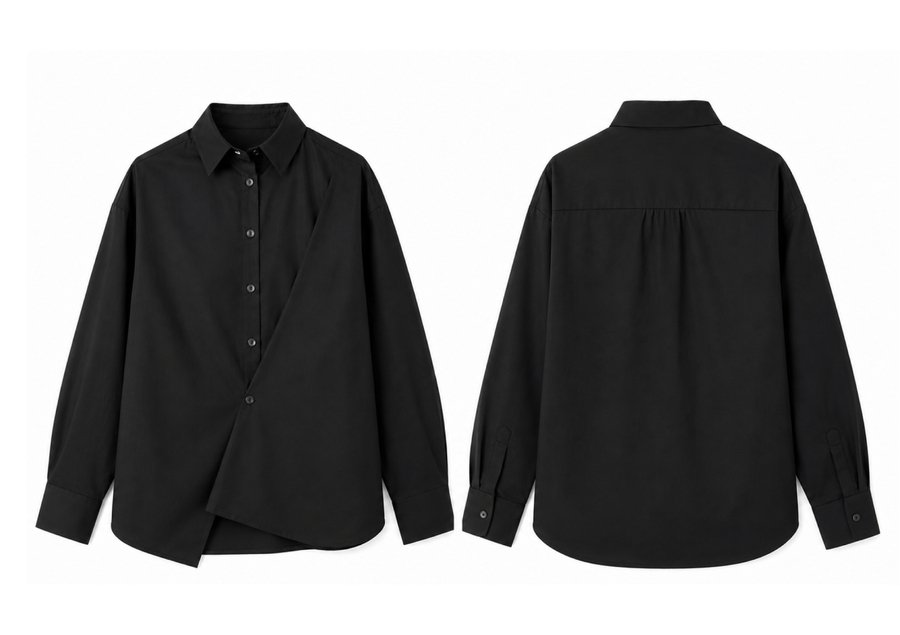
Visualization
Technical Specifications
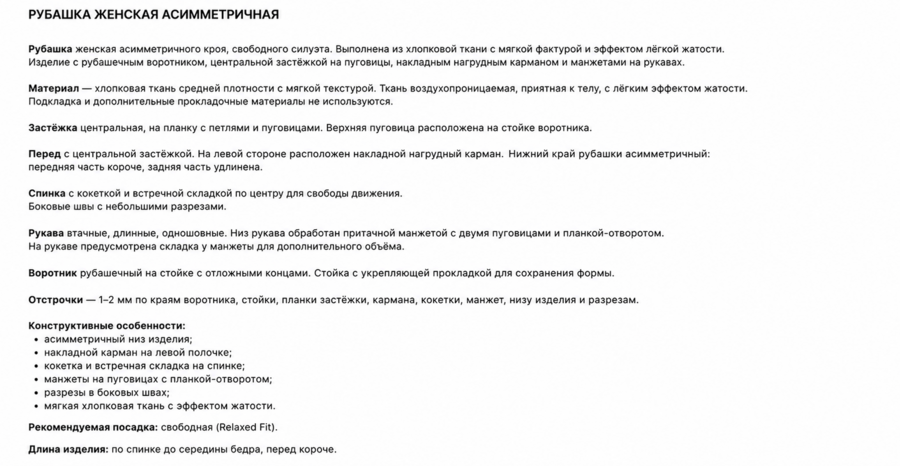
Model — Women’s Asymmetrical Shirt
Model Designer — Tagesian Luisa
Item Name — Shirt
Age Group — All sizes
Recommended Sizes — 40–48
Season — All-season
Operating Climate Parameters — +10–25 °C
Purpose — Casual Wear
Silhouette — Loose (oversize)
Garment Length — To the hip line
Closure — Central button placket
Collar — Classic fold-over
Sleeves — Long, set-in
Cuffs — Straight, buttoned
Material — Medium-density shirting fabric
Color — Black
Documentation
Manufacturing Stages
Technical sequence for shirt processing and sewing
1. Check the pattern set for completeness, apply control darts and lines indicating the placement of relief panels, plackets, buttonholes, and buttons.
2. Double the parts for the collar, collar stand, cuffs, fastening plackets, and sleeve plackets with adhesive material.
3. Iron the entire-piece fastening placket along the marked fold lines.
4. Set the inner edge of the entire-piece placket and complete the decorative stitching on the fastening placket.
5. Stitch the relief darts on the front panel.
6. Iron the relief darts on the front panel.
7. Iron the relief darts on the back panel.
8. Join the yoke to the back panel.
9. Complete the decorative stitching on the yoke.
10. Sew the shoulder seams with a lingerie seam.
11. Press the shoulder seams.
12. Finish the collar.
13. Finish the collar stand and join the collar to the collar stand.
14. Set the collar into the neckline of the garment.
15. Press the collar.
16. Finish the armhole openings with plackets.
17. Create fasteners at the top of the sleeve plackets.
18. Finish and set the loops for securing the sleeves.
19. Sew the side seams of the sleeves with a lingerie seam.
20. Press the sleeve seams.
21. Finish the cuffs.
22. Join the cuffs to the sleeves.
23. Complete the decorative stitching on the cuffs.
24. Set the sleeves into the armholes.
25. Press the sleeve setting seams.
26. Stitch the side seams of the garment and the bottom seams of the sleeves with a single seam.
27. Finish the bottom hem of the garment with a turned-under seam and a closed edge.
28. Press the garment bottom hem.
29. Mark the buttonholes on the front fastening and cuffs.
30. Sew the buttons onto the front fastening and cuffs, as well as the buttons for securing inside the sleeves.
31. Conduct the final steam and heat treatment of the garment.
32. Inspect the quality of the garment construction and its conformance to the master sample.