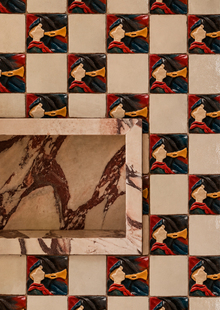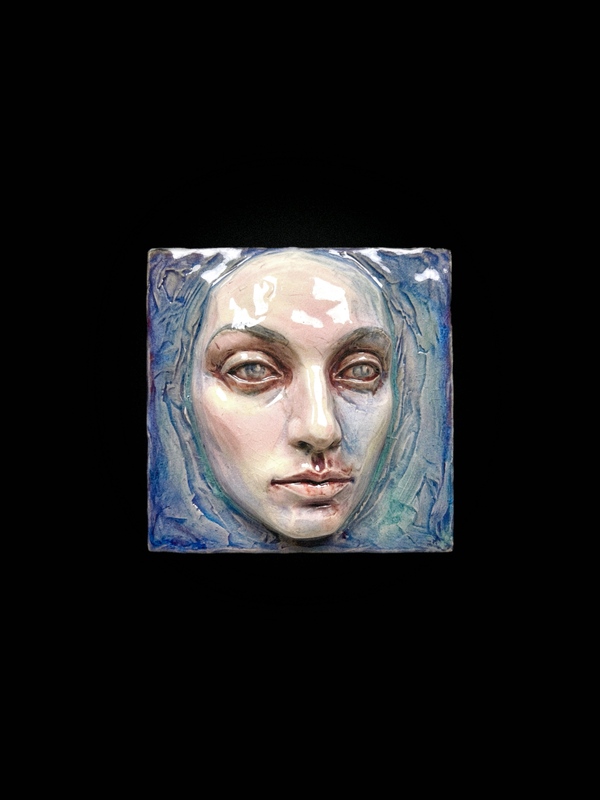
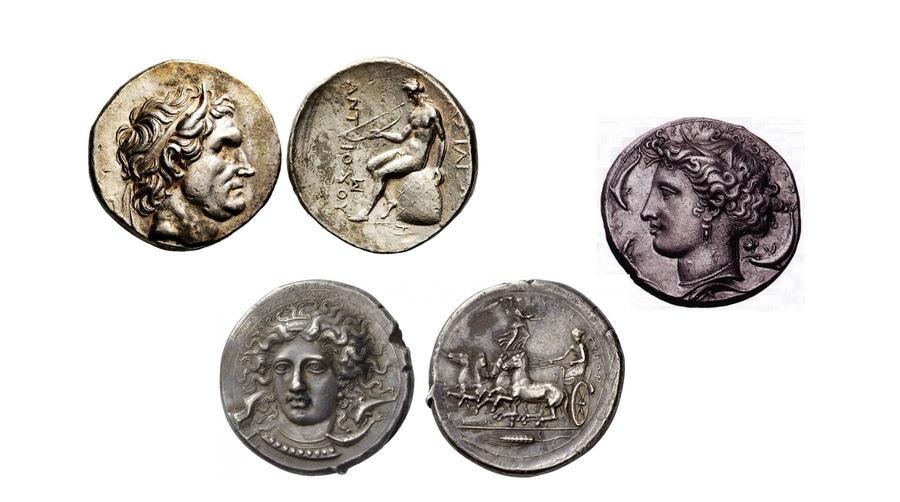
In antiquity, coins bearing the image of rulers were part of the world’s matrix at the time. But what if the modern matrix is a face featuring randomly invented features by an artist? In the age of AI and globalization, generalized generation and average values are playing an increasingly significant role… so why not capture these defining features of our century on one of the last material mediums—a tiled wall?
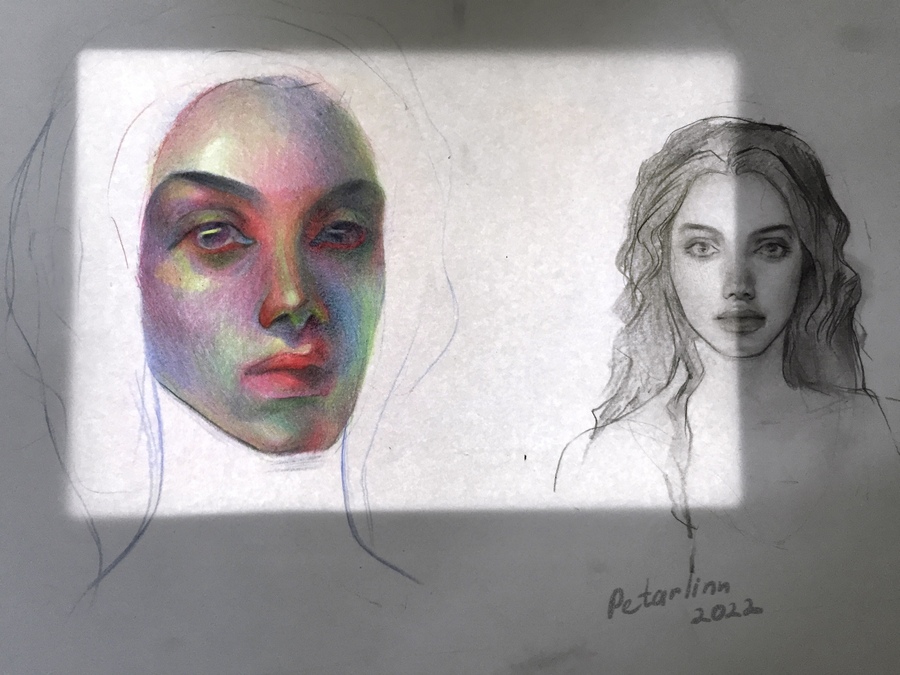
Artwork by the project creator. Created in July 2022.
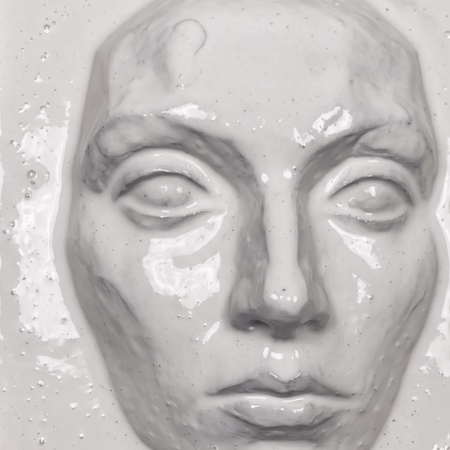
- Master Model Creation
The process begins by molding the initial prototype from sculptural modeling clay. At this stage, the architecture of the final piece is established: the composition is detailed, the texture is refined, and the optimal depth of the relief is defined.
- Mold Fabrication
A mold frame—a rigid structure that contains the space for pouring the plaster mixture—is assembled from foam core board. The clay prototype is securely fixed inside to prevent any shifting during the process.
- Plaster Mold Casting
The prepared mold frame is carefully filled with plaster. After complete crystallization and achieving the necessary hardness, the rough mold is gently removed from the supporting frame.
- Removal of the Clay Sample
The clay prototype is carefully extracted from the hardened plaster block to avoid damaging the details. This results in a working matrix with an exact negative impression of the relief, which serves as the foundation for reproduction.
- Slip Casting and Shaping
Slip—a liquid ceramic mixture—is poured into the matrix. The porous plaster absorbs the moisture, gradually forming a dense ceramic body on the walls. Once the piece reaches the required thickness, it is removed and sent for drying.
- Bisque Firing
The completely dried piece is placed in an oven for initial (bisque) firing. The application of high temperatures transforms the clay’s structure, lending the piece high strength and preparing the surface for glazing.
- Decoration and Glazing
A layer of glaze is applied to the fired ceramic body. This provides the intended color tone, forms a protective coating, and strikingly emphasizes every curve of the relief.
- Glaze Firing (Final Firing)
The piece undergoes a second firing, during which the glaze melts and vitrifies into a durable, glass-like layer. The final result is a complete, authorial ceramic tile featuring an expressive relief ornament.
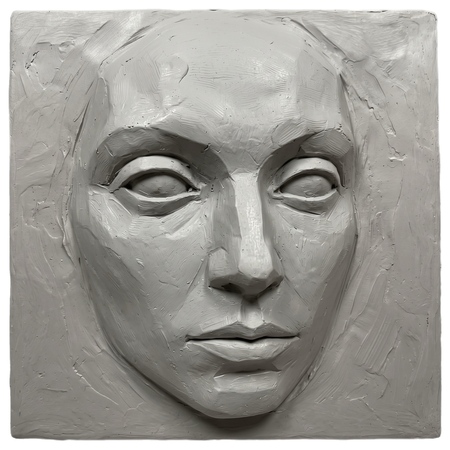
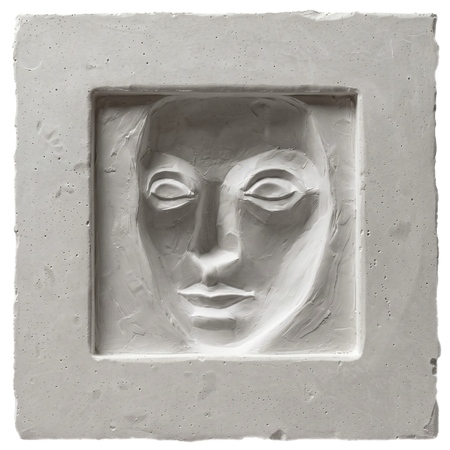
Relief made from sculptural plasticine and a plaster cast sample.
Final result in tile format.
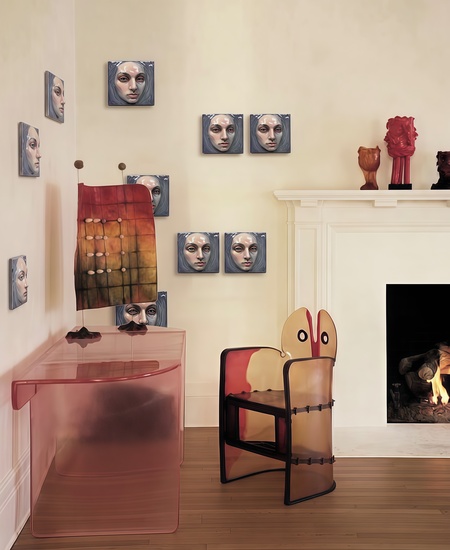
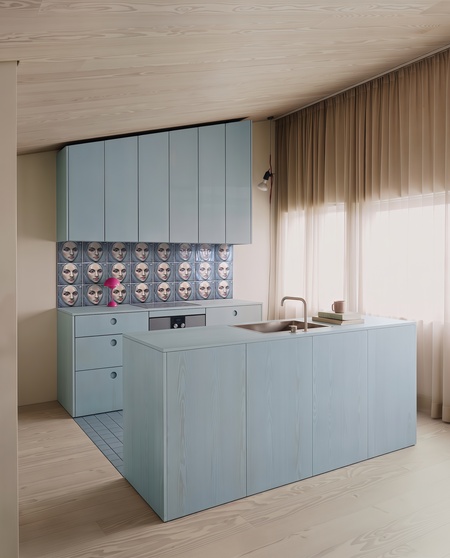
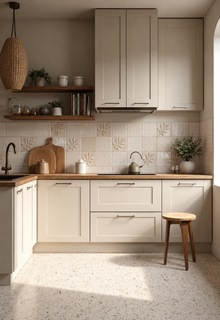
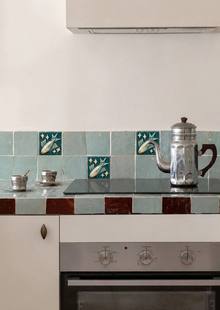
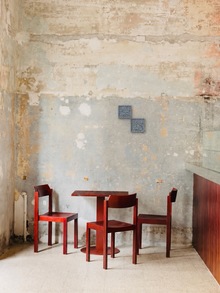
Integrating the designed tile into the interior.