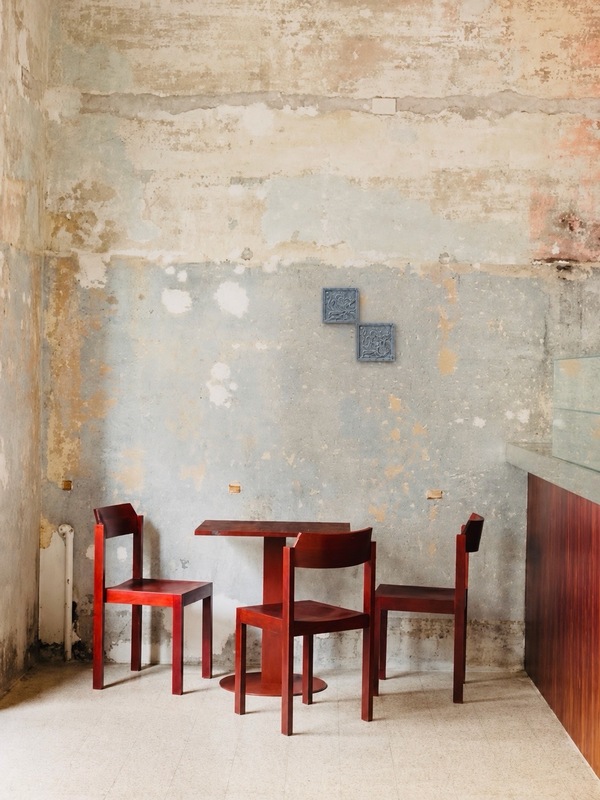
Handcrafted Tile
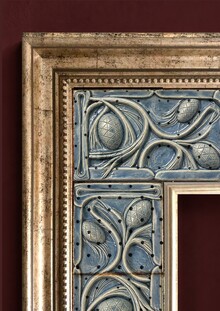
The project involves creating handcrafted ceramic tiles featuring embossed ornamentation. The manufacturing process includes developing a plasticine prototype, creating a plaster mold, shaping the ceramic tiles, firing, and glazing.
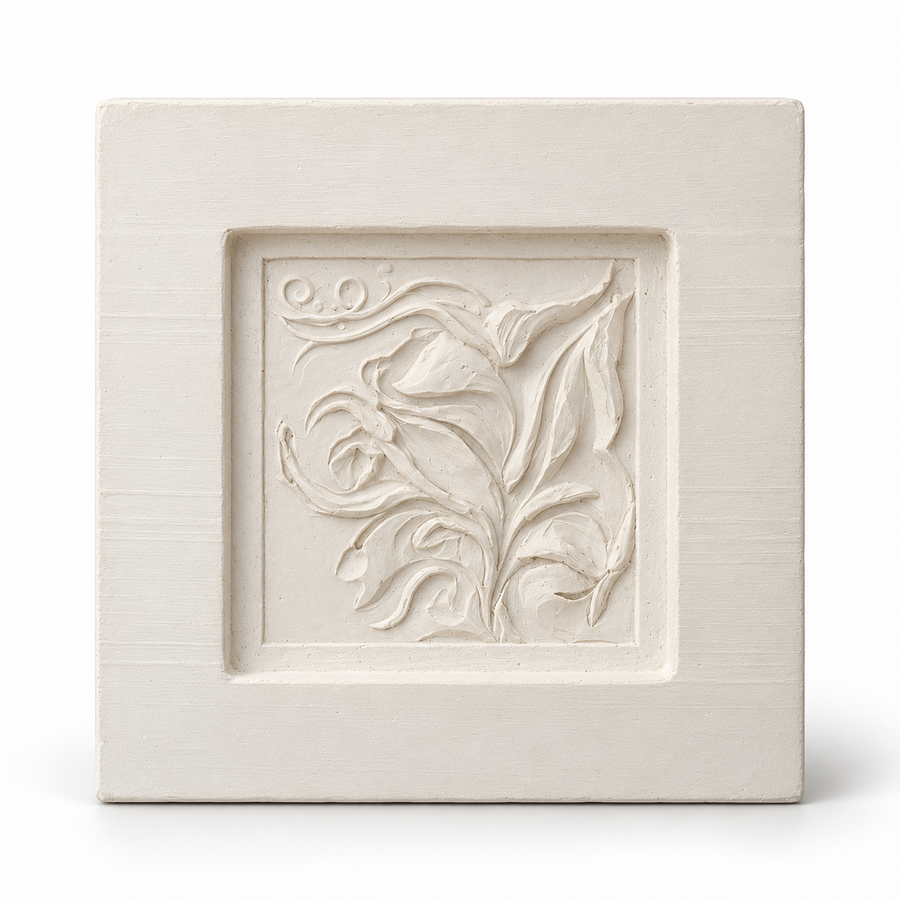
Stages of Production
- Prototype Creation
Development of a relief ornament and molding the initial tile sample from sculptural clay. At this stage, the composition, texture, and depth of the relief are established.
- Mold Preparation
A mold is constructed from styrofoam—a framework that contains the space for pouring the plaster. The clay prototype of the tile is secured inside.
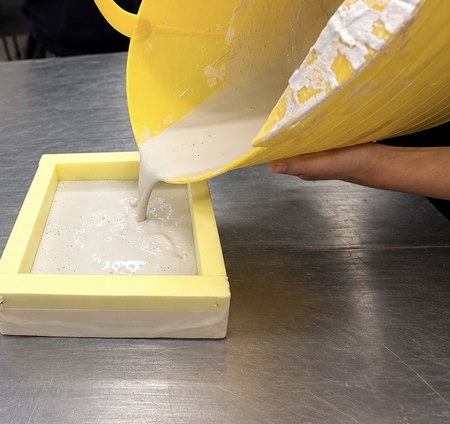
- Plaster Mold Creation
The prepared structure is poured with plaster mixture. After the plaster has completely hardened, the mold is removed from the styrofoam.
- Prototype Extraction
The clay sample is carefully removed from the plaster mold. This results in a matrix with a negative impression of the relief, which is intended for manufacturing ceramic tiles.
- Tile Shaping
A liquid ceramic mass—slip—is poured into the prepared plaster mold. After achieving the required thickness and hardening, the blank is removed from the mold and dried.
- Initial Firing
The completely dried tile undergoes its first, bisque firing in a ceramic kiln. This gives the piece strength and prepares the surface for glazing.
- Glazing
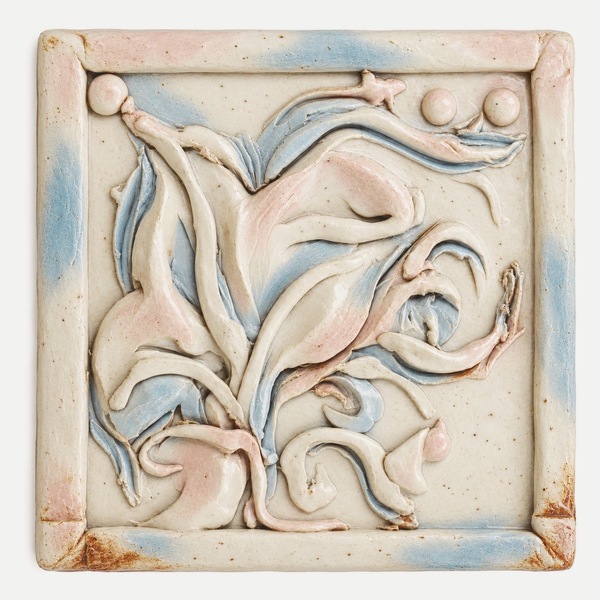
Ceramic glaze is applied to the surface of the fired tile, which accentuates the relief, imparts color to the piece, and forms the decorative finish.
- Final Firing
The tile undergoes a second firing, during which the glaze melts and forms a durable coating. The result is a finished, artist-designed ceramic tile with a relief ornament.
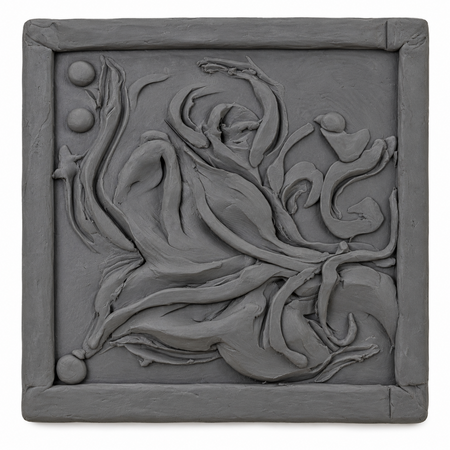
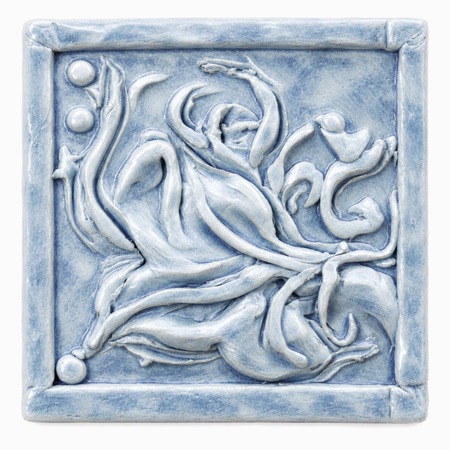
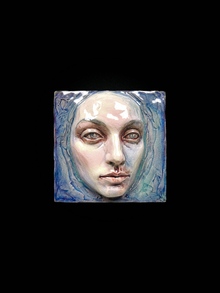
clay prototype / final tile
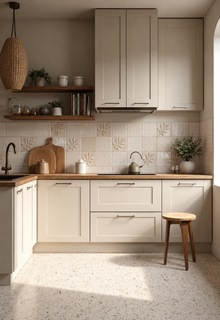
Interior Visualizations
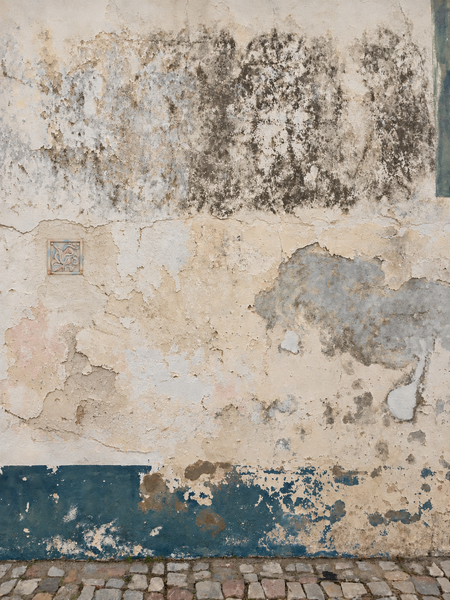
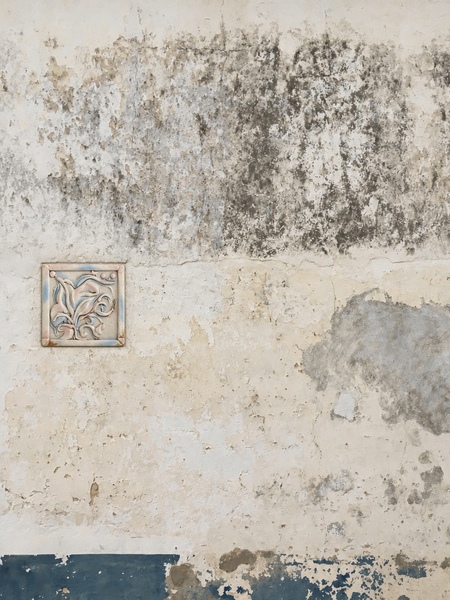
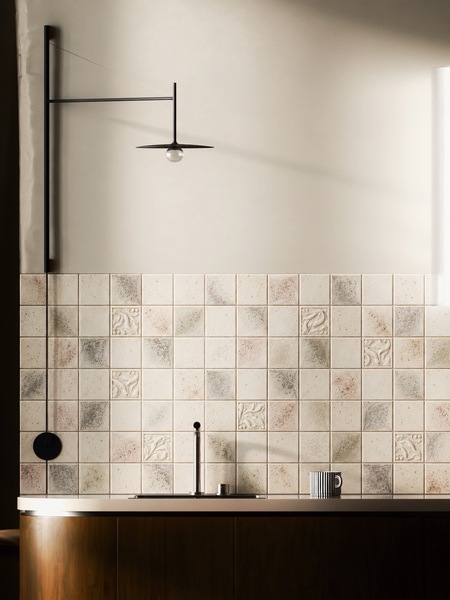
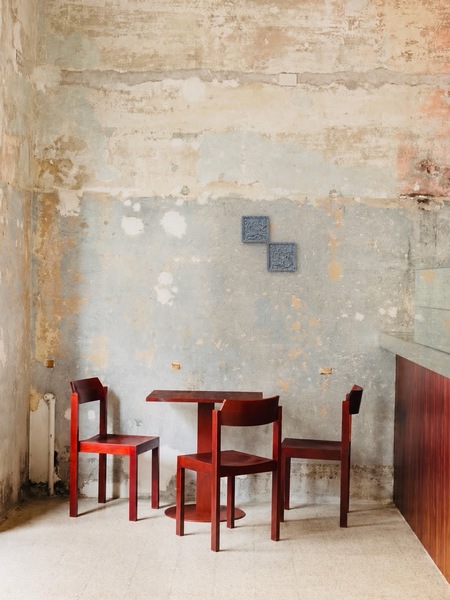
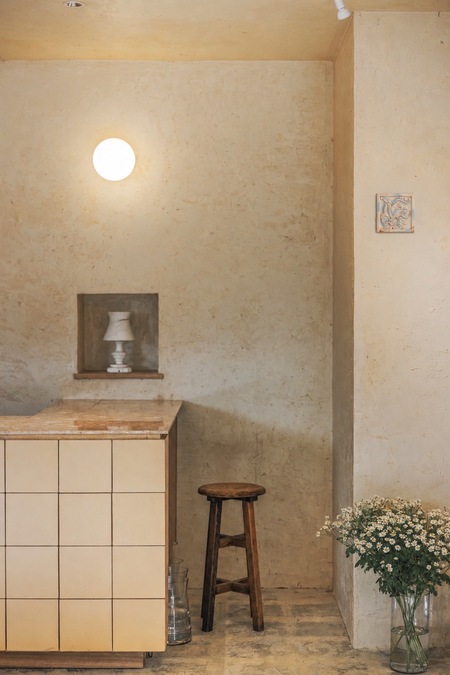
Project visualizations were created using the artificial intelligence ChatGPT (OpenAI).