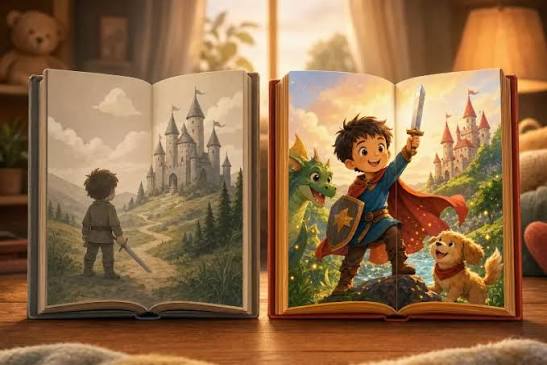
Target Audience (Who This Course is For)
This advanced course is designed for:— Term 1 Graduates: Students who know how to create a dummy book and storyboard, but now need to produce high-quality final artwork.— Illustrators with Consistency Challenges: Artists who have started books before but struggle to maintain consistent character design and style from page one to page thirty-two.— Fine Artists and Painters: Artists skilled at creating strong, standalone paintings who find it difficult to maintain energy and stylistic coherence across an entire book project.— Freelance Illustrators: Artists looking to build a robust, professional portfolio to attract top-tier publishers or literary agents.
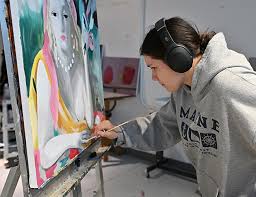
Fine Artists and Painters
Prerequisites: (What you need before starting)Completed Term 1:
You must know how to create a storyboard, design a character, and build a dummy book.Medium Proficiency:
You must already be proficient in using your art tools (such as watercolor, gouache, or digital software like Procreate/Photoshop). This class will not teach you how to paint; it will teach you how to apply your skills to complete a book.A Ready Story:
You must bring a children’s story text ready for illustration to the first class.— Basic Color Skills:
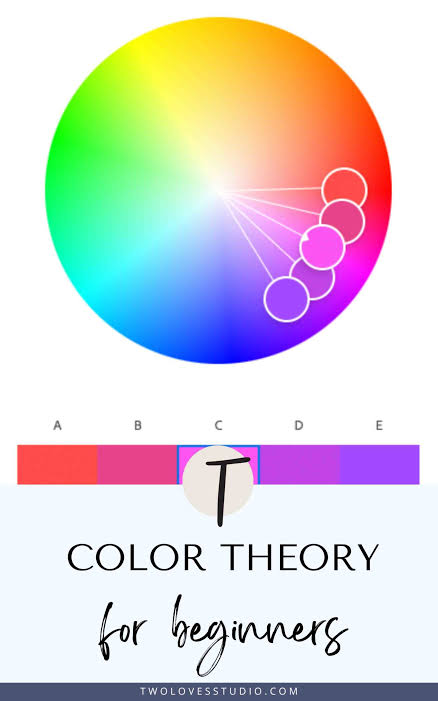
You should already have an understanding of basic color theory so that we can focus on developing advanced color palettes for your book.
Expected Learning Outcomes:Conduct a «Style Test»:
Learn how to render the same scene in three different styles to determine which approach best serves your narrative before committing to the entire book.Create a «Style Sheet»:
Develop a personal style guide for your book detailing your exact color palette, textures, and character expressions, ensuring perfect consistency in every illustration.Maintain Consistency:
Ensure the faces, body types, and colors of your characters remain perfectly consistent across numerous pages, even when separated by weeks.Complete a Full Project:
Take a book concept from initial rough sketches through to fully rendered, final illustrations.Apply Advanced Techniques:
Incorporate unique textures, utilize mixed media by combining different art supplies, or employ digital brushes to elevate your artwork to a professional standard.Time Management:
Learn how to deconstruct a large, daunting project into small, manageable steps to guarantee completion.
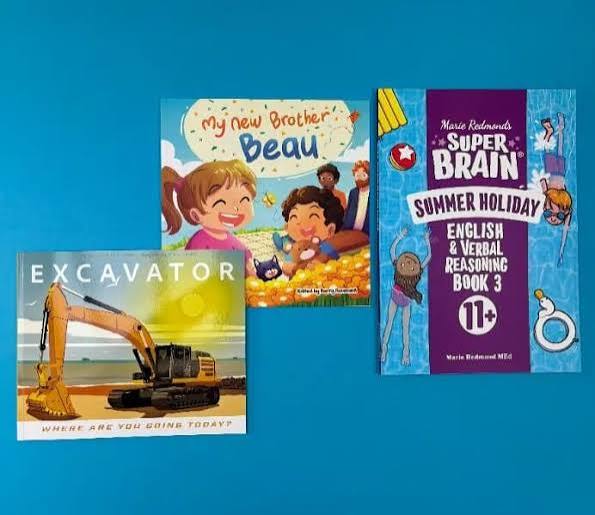
Complete a Full Project
Assessment and Control Elements:Milestone Reviews:
You cannot proceed to the next stage until the instructor approves your current one (For example, you cannot begin the final painting until your style sheet and sketches are approved).Consistency Checks:
The instructor will randomly compare your initial illustration with your latest one to ensure your style has not drifted or shifted midway through the book.Advanced Critiques:
Feedback will focus less on «Does this tell the story?» (we covered that in Term 1) and more on «Is this style professional?» and «Does the artwork look beautiful and consistent?»Final Rubric:
Your final project will be graded on: 1) Style originality, 2) Consistency across all pages, 3) Technical painting skill, and 4) Files being print-ready.Progress Tracking: You will maintain a log of the hours spent on each illustration to learn how to price your work for future clients.


Milestone Reviews and cheack
Final Output/Result:A Complete, Print-Ready Book:
Fully finished, high-resolution illustrations for an entire children’s book (or a very large, polished portion of it), with files correctly prepared for the printing press.A Professional Style Sheet:
A beautiful document showcasing your characters, color palettes, and textures. Publishers look for this to assess your ability to handle large-scale projects.A Commercial Portfolio:
A polished, professional portfolio website or PDF specifically designed to submit to children’s book publishers for employment.

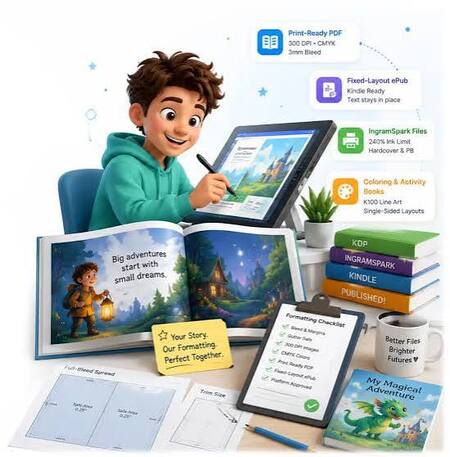
A Complete, Print-Ready Book
Approximate Syllabus (Course Plan)Finding Your Visual Style
Examining the current children’s book market and popular styles.
How to select a style you love that publishers will also want to buy.
Added Point: Avoiding common style mistakes (like making art too cluttered or too complex for young kids).The Style Test (Pilot Illustration)
Selecting the most crucial scene from your story.
Drawing that single scene in two or three different styles or mediums.
Class critique to determine the winning style for the remainder of the book.Building the Style Sheet
Finalizing your color palette.
Drawing your main character from the front, side, and back (turnaround).
Testing lighting and textures. This is your roadmap to ensure you don’t get lost later.Final Art — The Heavy Lifting (Part 1)
Beginning the final painting and rendering process.
Tips for staying motivated and avoiding burnout when working on a lengthy project.
Working on the illustrations for the first half of the book.Final Art — Advanced Techniques (Part 2)
Completing the second half of the book.
How to incorporate special details, textures, and lighting to make your art «pop» off the page.
Added Point: How to correct digital errors without having to redraw the entire image.Designing the Cover
The cover is the most important illustration—it sells the book.
How to create a cover that captures attention on a bookstore shelf while remaining cohesive with the interior pages.Polishing and Prepress (Preparing for Print)
A final check for consistency and errors.
Understanding print specifications: CMYK colors, 300 DPI resolution, and «Bleed» (the extra space for the paper cutter).Final Class: Celebrating and presenting your fully finished, professional children’s book!