What You Will Find in This Guide
This longread will help you prepare a sculpture for viewing and assemble its presentation for your academic portfolio and portfolio.hsedesign. We will explore how to bring an object to its final state, organize the photoshoot, choose lighting and angles, edit the photographs, design the cover, and structure the project presentation.
This is not about providing a universal recipe for a «beautiful picture.» The goal of the presentation is not to mask the work with effects, but rather to allow the viewer to see the sculpture’s form, volume, material, details, and artistic solution.
Effective presentation doesn’t replace strong sculpture, but it helps clearly articulate its form, volume, and detail.
Sculpture Preparation for Viewing
Before photographing the work or assembling the presentation, bring the object itself to its final state. The camera highlights not only the sculpture’s strengths but also surface imperfections, accidental tool marks, dust, smudges, and sloppy technical details.
Form and Surface
Examine the work from all angles and from a short distance. Check whether the silhouette is legible, whether the character is maintained from different perspectives, and if there are any accidental creases, depressions, or weak transitions between volumes.
— the overall silhouette is clear against a neutral background
— the form appears convincing from the front, the side, and a three-quarter view
— the surface is smooth or texturally rendered according to the concept
— the work is free of dust, material debris, fingerprints, or random tool marks
— delicate details are secured and do not deform during transit
If a flaw is visible in the photograph, it is better to correct it in the material before shooting, rather than trying to hide it with editing.
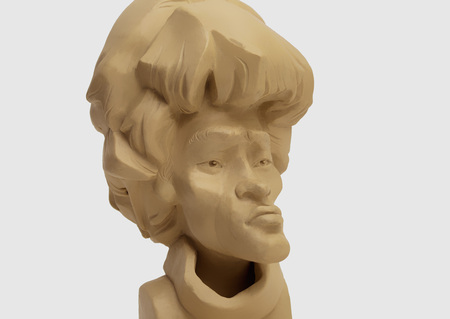
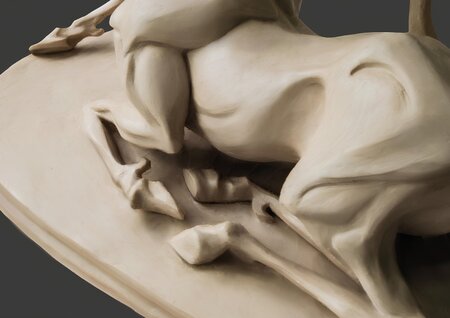
Examples of smooth surface finishing
Base
A base is necessary if it helps convey the stability and scale of the object. It must be clean and tidy—free of extraneous modeling clay, dust, chips, wire, screws, or other construction traces.
— The base surface is clean
— Corners, edges, and borders appear straight
— Screws, wire, framework, and other technical elements are not visible
— There is no excess clay, dust, stains, or chips on the foundation
— The color and scale of the base do not distract from the sculpture
If the base detracts from the composition and is not part of the original concept, you may not show it entirely. The main goal is to maintain the feeling that the sculpture is resting on a surface, not floating in mid-air.
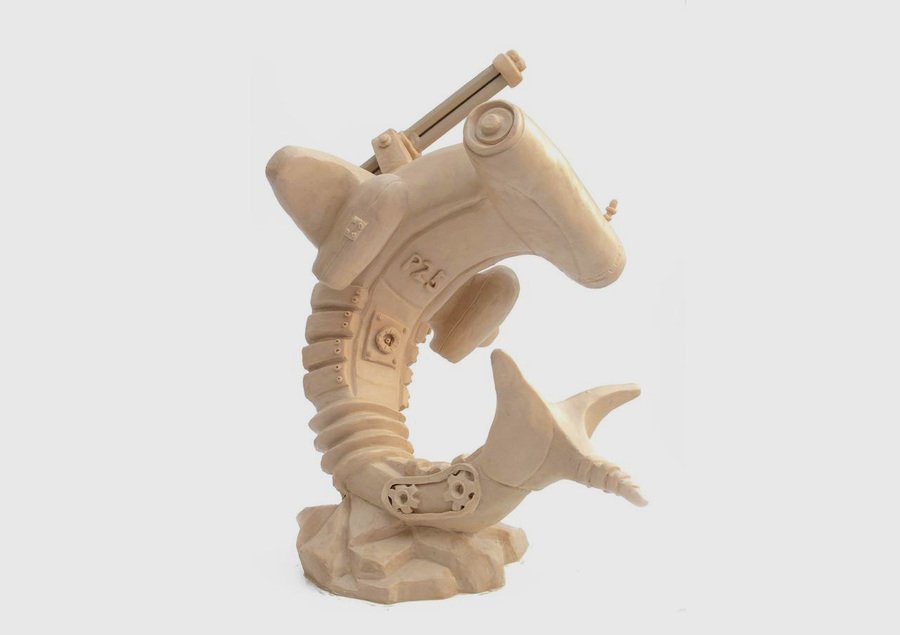
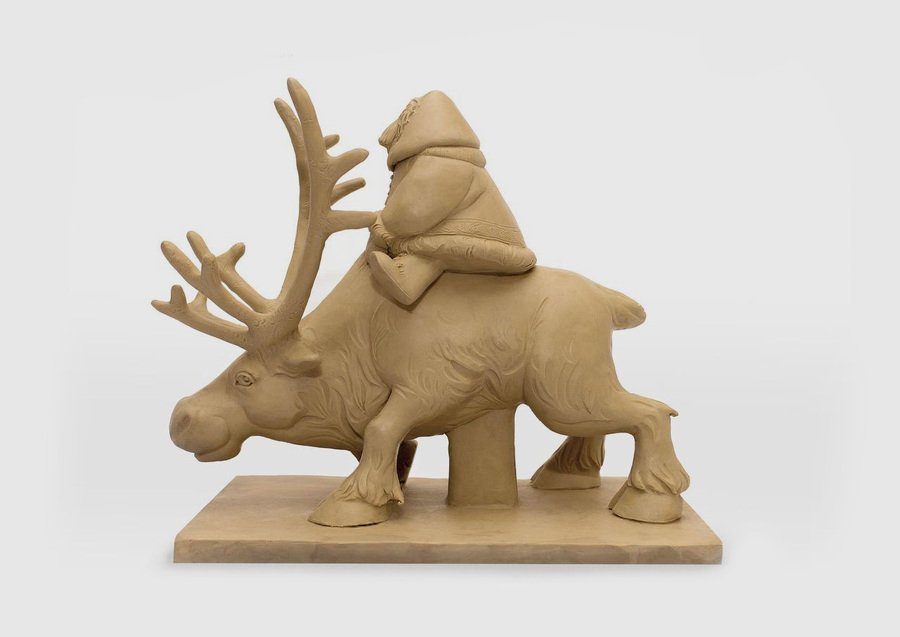
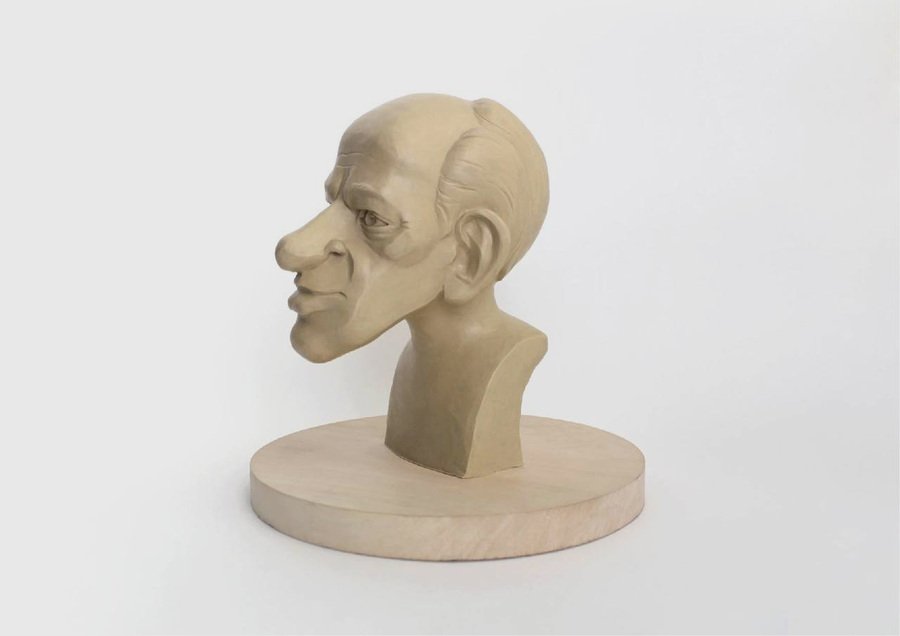
Options for neat risers
Pre-Production Preparation: Location, Background, and Cyclorama
The setting and environment of a shoot directly impact how a sculpture is perceived. Even a well-refined form can lose its impact if photographed on a windowsill, kitchen table, or against the backdrop of a classroom wall—such settings appear careless and shift the viewer’s focus from the artwork to the mundane surroundings.
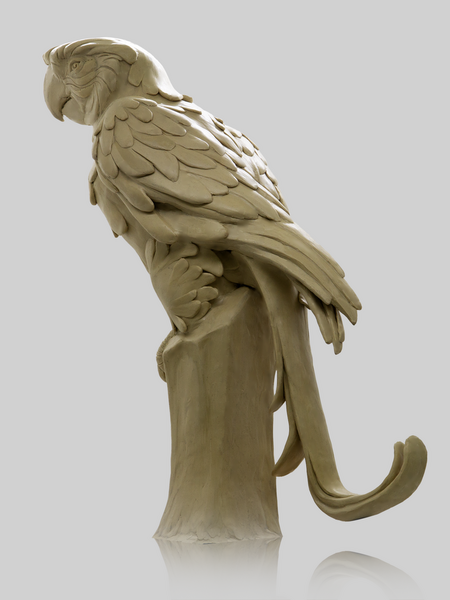
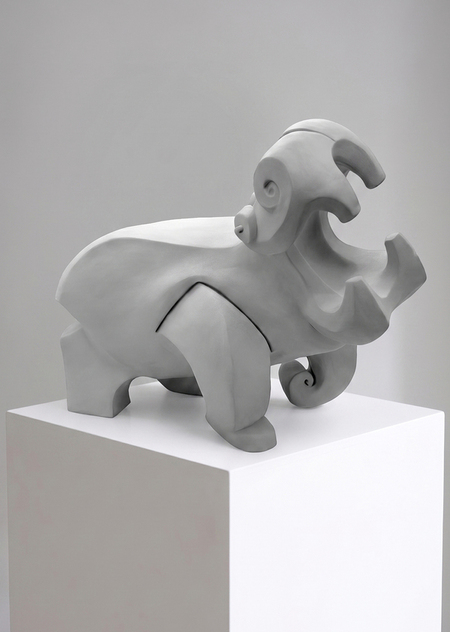
Cyclorama
The optimal setup for shooting is a cyclorama—even a simple sheet of butcher paper can serve this function. A smooth transition, free of any visible angle between the horizontal and vertical surfaces, creates a neutral background where the sculpture’s form reads without obstruction.
— The background must be flawlessly clean, free of spots, dust, or creases.
— If any contamination remains in the photograph, it must be removed during post-production.
— The seam line of the background must not be visible in the shot.
— The background material (butcher paper, fabric, paper) must not distract with texture or glare.
What to Avoid
— shooting on a windowsill, kitchen table, or workspace
— background elements like classrooms, walls, shelves, and household items in the frame
— random objects near the sculpture—tools, packaging, dishware
— yellow or mixed-temperature light from domestic lamps
Light, Angles, and Essential Shots
Light and perspective are the primary tools that reveal the form of a sculpture. Even a flawlessly refined piece loses its impact if the lighting conceals its volume or the framing fails to allow the viewer to see the silhouette and details.
Light
The objective of lighting is to reveal the plasticity and volume.
— There must be enough light for the form to be entirely legible
— The lighting should be soft, without harsh or overly dark shadows
— Blowouts must be avoided—in them, the form turns into a flat, bright spot
— The light placement must accentuate the volume and characteristic details, not conceal them
— For the main shoot, use neutral light: it allows for an accurate rendering of the material’s color and the sculpture’s form
— Artistic colored light is permissible only as a deliberate technique and with the prior approval of the instructor and curator
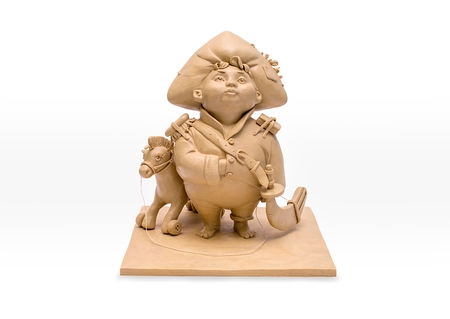
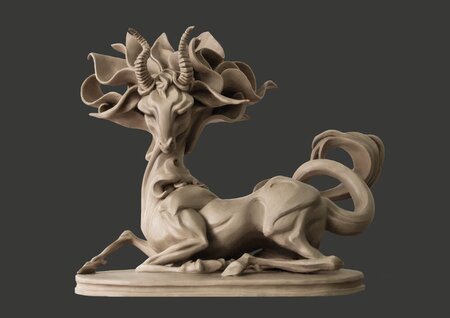
Strong presentation under neutral lighting
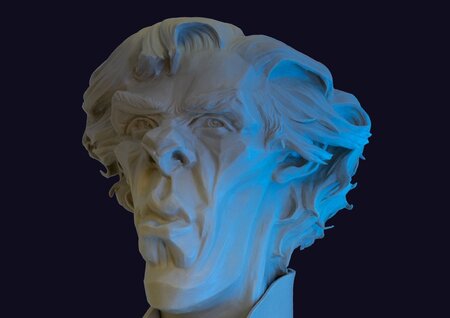
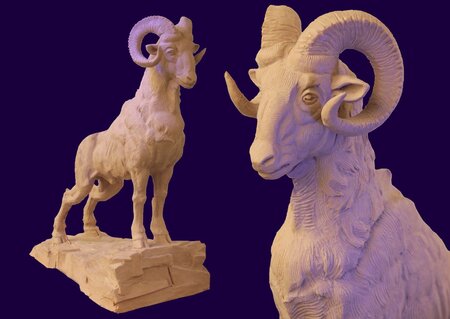
Examples of effective artistic lighting
Viewpoints
The series of photographs must showcase the sculpture sequentially and completely, rather than repeating the same angle.
— Several general shots are required: front, side, and three-quarter view
— Details should be shown where they are truly expressive
— Before shooting, you should walk around the work from all sides to find the strongest viewing points
— Overly creative viewpoints are permissible only as supplements to the main presentation, not as replacements for clear shots
— You cannot overdo nearly identical photographs—it is better to have fewer, but more expressive, images
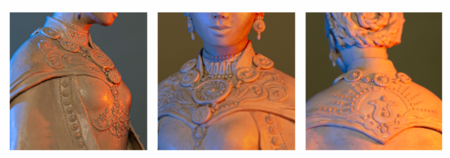
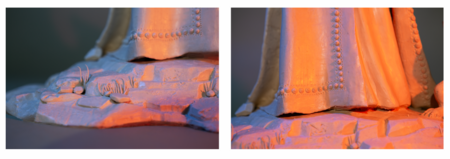
Details
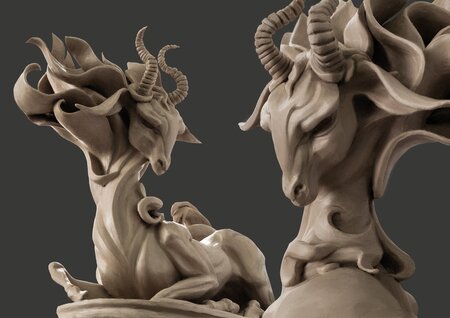
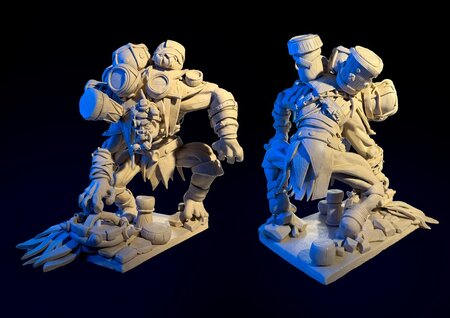
Perspectives
Angles
Required Portfolio Submission
— overall front view
— overall side view or three-quarter angle
— one or two close-ups of significant details
— if necessary—a more creative shot that emphasizes the work’s characterThe presentation must contain a minimum of five slides. The cover slide does not count.
Image Processing and Technical Image Quality
Photo editing should be used to correct technical flaws in the capture, not to alter the work itself. Good retouching remains invisible—the viewer sees the sculpture, not the traces of Photoshop.
Shooting and Basic Post-Processing
— Whenever possible, shoot in RAW—this gives you more latitude for adjusting exposure and white balance.
— Adjust only the lighting and color; do not distort the texture or material.
— Maintain a natural color palette—avoid overly bright or unnatural hues.
— Do not overdo the saturation and contrast.
Background and Minor Imperfections
— remove dust, stains, and dirt from the cyclorama through post-processing if they cannot be removed physically
— if the background cannot be cleaned, you can crop the sculpture and place a neutral fill with a soft gradient underneath, adding a subtle shadow beneath the object
— minor remaining surface irregularities can be corrected using spot-correction tools, but only where absolutely necessary
Technical Errors to Avoid
— digital noise and grain from shooting in low light
— artificially brightening an overly dark photo
— enlarging a low-resolution photograph, resulting in blurriness
— harsh file compression that creates pixel artifacts
— crudely clipping the subject from the background with visible jagged edges